On this page
Getting Started with Laminas
Getting started: A skeleton application
Create a New Project
In order to build our application, we need to have at least PHP 8.1. We will start with the Laminas MVC Skeleton Application available on GitHub. Use Composer to create a new project from scratch:
$ composer create-project -s dev laminas/laminas-mvc-skeleton path/to/installThis will install an initial set of dependencies, including:
- laminas-component-installer, which helps automate injection of component configuration into your application.
- laminas-mvc, the kernel for MVC applications.
The default is to provide the minimum amount of dependencies necessary to run a laminas-mvc application. However, you may have additional needs that you know at the outset, and, as such, the skeleton also ships with an installer plugin that will prompt you for a number of items.
First, it will prompt:
Do you want a minimal install (no optional packages)? Y/nPrompts and Default Values
All prompts emitted by the installer provide the list of options available, and will specify the default option via a capital letter. Default values are used if the user presses "Enter" with no value. In the previous example, "Y" is the default.
If you answer "Y", or press enter with no selection, the installer will not raise any additional prompts, and finish installing your application. If you answer "n", it will continue prompting you:
Would you like to install the developer toolbar? y/NThe developer toolbar provides an in-browser toolbar with timing and profiling information, and can be useful when debugging an application. For the purposes of the tutorial, however, we will not be using it; hit either "Enter", or "n" followed by "Enter".
Would you like to install database support (installs laminas-db)? y/NWe will be using laminas-db extensively in this tutorial, so hit "y" followed by "Enter". You should see the following text appear:
    Will install laminas/laminas-db (^2.17.0)
    When prompted to install as a module, select application.config.php or modules.config.php
The next prompt is:
Would you like to install forms support (installs laminas-form)? y/NThis tutorial also uses laminas-form, so we will again select "y" to install this; doing so emits a similar message to that used for laminas-db.
At this point, we can answer "n" to the remaining features:
    Would you like to install JSON de/serialization support? y/N
    Would you like to install logging support? y/N
    Would you like to install command-line interface support? y/N
    Would you like to install i18n support? y/N
    Would you like to install the official MVC plugins, including PRG support, identity, and flash messages? y/N
    Would you like to use the PSR-7 middleware dispatcher? y/N
    Would you like to install sessions support? y/N
    Would you like to install the laminas-di integration for laminas-servicemanager? y/N
At a certain point, you'll see the following text:
Updating root package
    Running an update to install optional packages

...

Updating application configuration...

  Please select which config file you wish to inject 'Laminas\Db' into:
  [0] Do not inject
  [1] config/modules.config.php
  Make your selection (default is 1):
We want to enable the various selections we made in the application. As such,
we'll choose 1, which will then give us the following prompt:
Remember this option for other packages of the same type? (y/N)In our case, we can safely say "y", which will mean we will no longer be
prompted for additional packages. (The only package in the default set of
prompts that you may not want to enable by default is Laminas\Test.)
Once the installation is done, the skeleton installer removes itself, and the new application is ready to start!
Downloading the Skeleton
Another way to install the Laminas MVC Skeleton Application is to use github to
download a compressed archive. Go to
https://github.com/laminas/laminas-mvc-skeleton, click the "Clone or
download" button, and select "Download ZIP". This will download a file with a
name like laminas-mvc-skeleton-master.zip or similar.
Unzip this file into the directory where you keep all your vhosts and rename
the resultant directory to laminas-mvc-tutorial.
laminas-mvc-skeleton is set up to use Composer to resolve its dependencies. Run the following from within your new laminas-mvc-tutorial folder to install them:
$ composer self-update
$ composer install
This takes a while. You should see output like the following:
Installing dependencies from lock file
- Installing laminas/laminas-component-installer (2.1.2)

...

Generating autoload files
At this point, you will be prompted to answer questions as noted above.
Alternately, if you do not have Composer installed, but do have docker-compose available, you can run Composer via those:
$ docker-compose build
$ docker-compose run laminas composer install
Timeouts
If you see this message:
[RuntimeException]
  The process timed out.
then your connection was too slow to download the entire package in time, and composer timed out. To avoid this, instead of running:
$ composer installrun instead:
$ COMPOSER_PROCESS_TIMEOUT=5000 composer installWindows Users Using WAMP
For windows users with wamp:
1. Install Composer for Windows
Check Composer is properly installed by running:
$ composerOtherwise follow the installation guide for Composer.
2. Install Git for Windows
Check Git is properly installed by running:
$ gitOtherwise follow the installation guide for GitHub Desktop.
3. Now Install the Skeleton Using
$ composer create-project -s dev laminas/laminas-mvc-skeleton path/to/installWe can now move on to the web server setup.
Web Servers
In this tutorial, we will step you through different ways to set up your web server:
- Via the PHP built-in web server.
- Via docker-compose.
- Using Apache.
Using the Built-in PHP Web Server
You can use PHP's built-in web server when developing your application. To do this, start the server from the project's root directory:
$ php -S 0.0.0.0:8080 -t public public/index.phpThis will make the website available on port 8080 on all network interfaces,
using public/index.php to handle routing. This means the site is accessible
via http://localhost:8080 or http://<your-local-IP>:8080.
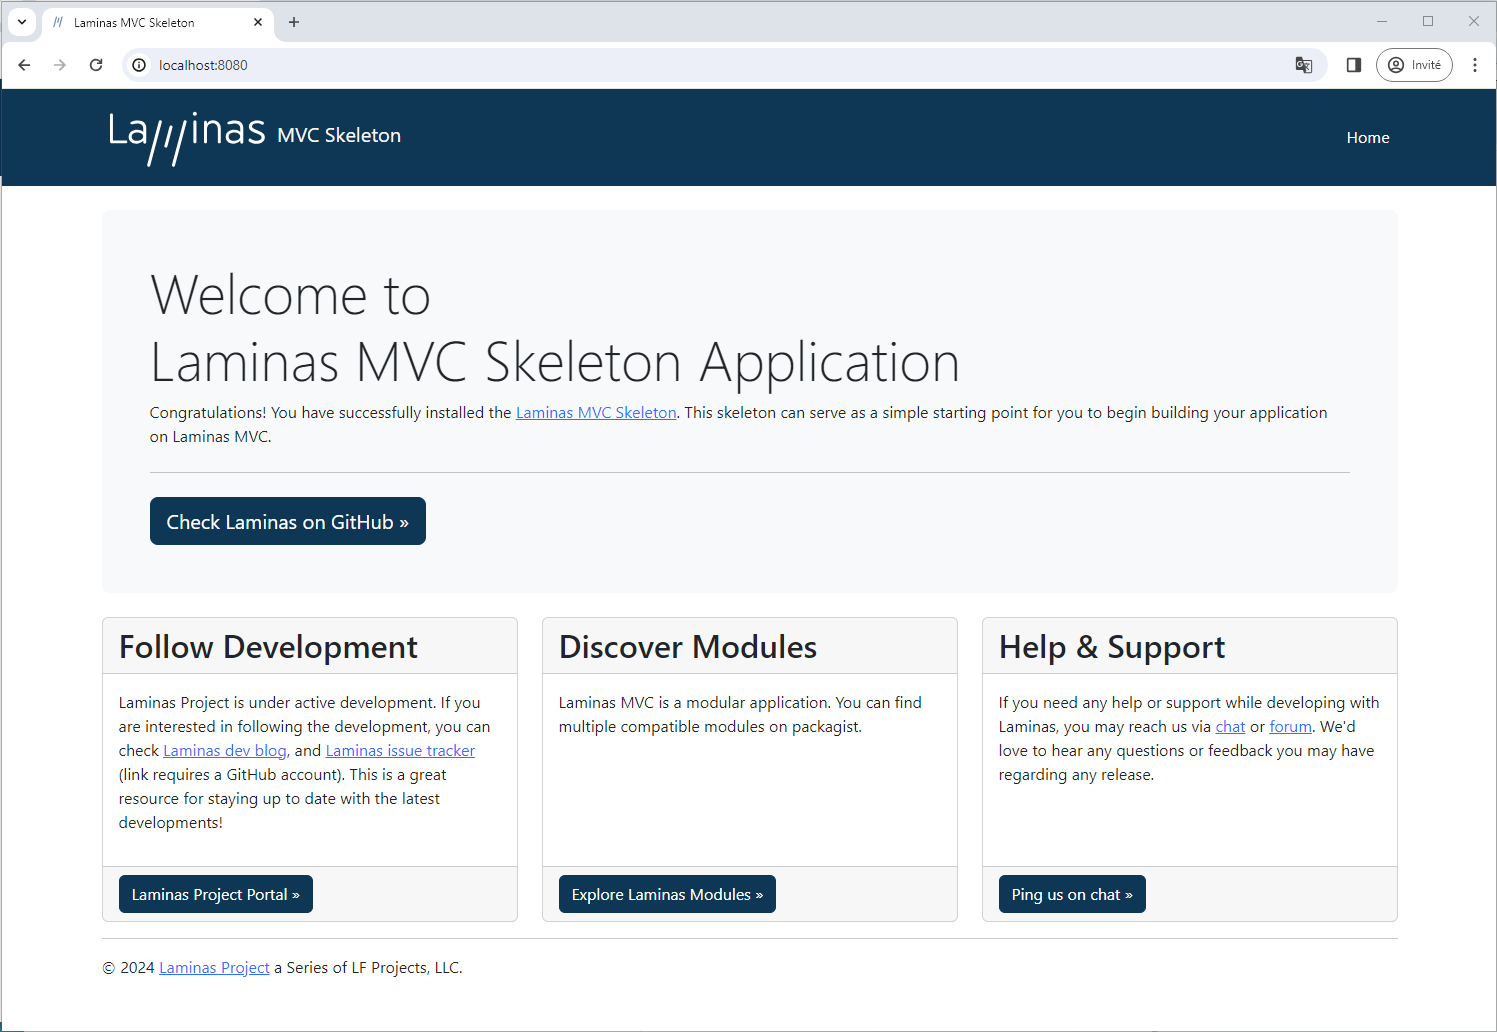
If you’ve done it right, you should see the following.
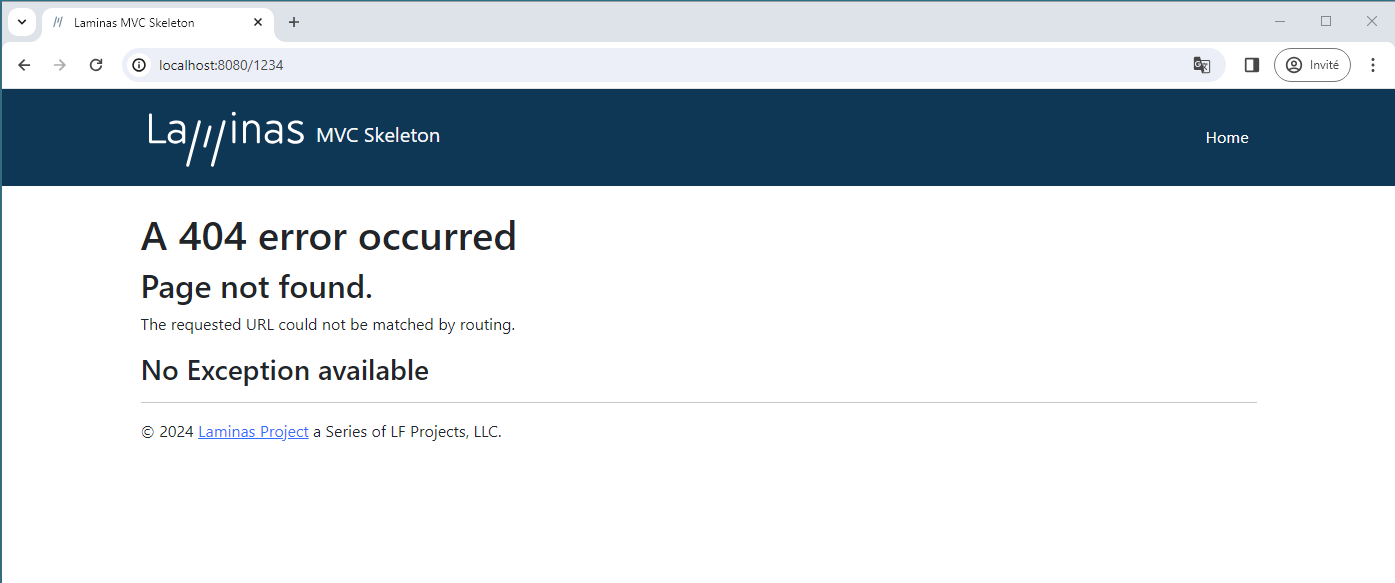
To test that your routing is working, navigate to http://localhost:8080/1234,
and you should see the following 404 page:
Development only
PHP's built-in web server should be used for development only.
Using docker-compose
Docker containers wrap a piece of software and everything needed to run it, guaranteeing consistent operation regardless of the host environment; it is an alternative to virtual machines, as it runs as a layer on top of the host environment.
docker-compose is a tool for automating configuration of containers and composing dependencies between them, such as volume storage, networking, etc.
The skeleton application ships with a Dockerfile and configuration for
docker-compose; we recommend using docker-compose, as it provides a foundation
for mapping additional containers you might need as part of your application,
including a database server, cache servers, and more. To build and start the
image, use:
$ docker-compose up -d --buildAfter the first build, you can truncate this to:
$ docker-compose up -dOnce built, you can also run commands on the container. The docker-compose configuration initially only defines one container, with the environment name "laminas"; use that to execute commands, such as updating dependencies via composer:
$ docker-compose run laminas composer updateThe configuration includes both PHP 8.3 and Apache 2.4, and maps the host port 8080 to port 80 of the container.
Using the Apache Web Server
We will not cover installing Apache, and will assume you already have it installed. We recommend installing Apache 2.4, and will only cover configuration for that version.
You now need to create an Apache virtual host for the application and edit your
hosts file so that http://laminas-mvc-tutorial.localhost will serve index.php from
the laminas-mvc-tutorial/public/ directory.
Setting up the virtual host is usually done within httpd.conf or
extra/httpd-vhosts.conf. If you are using httpd-vhosts.conf, ensure that
this file is included by your main httpd.conf file. Some Linux distributions
(ex: Ubuntu) package Apache so that configuration files are stored in
/etc/apache2 and create one file per virtual host inside folder
/etc/apache2/sites-enabled. In this case, you would place the virtual host
block below into the file /etc/apache2/sites-enabled/laminas-mvc-tutorial.
Ensure that NameVirtualHost is defined and set to *:80 or similar, and then
define a virtual host along these lines:
<VirtualHost *:80>
    ServerName laminas-mvc-tutorial.localhost
    DocumentRoot /path/to/laminas-mvc-tutorial/public
    SetEnv APPLICATION_ENV "development"
    <Directory /path/to/laminas-mvc-tutorial/public>
        DirectoryIndex index.php
        AllowOverride All
        Require all granted
    </Directory>
</VirtualHost>
Make sure that you update your /etc/hosts or
c:\windows\system32\drivers\etc\hosts file so that laminas-mvc-tutorial.localhost is
mapped to 127.0.0.1. The website can then be accessed using
http://laminas-mvc-tutorial.localhost.
127.0.0.1 laminas-mvc-tutorial.localhost localhostRestart Apache.
If you've done so correctly, you will get the same results as covered under the PHP built-in web server.
To test that your .htaccess file is working, navigate to
http://laminas-mvc-tutorial.localhost/1234, and you should see the 404 page as noted
earlier. If you see a standard Apache 404 error, then you need to fix your
.htaccess usage before continuing.
If you're are using IIS with the URL Rewrite Module, import the following:
RewriteCond %{REQUEST_FILENAME} !-f
RewriteRule ^ index.php [NC,L]
Error Reporting
Optionally, when using Apache, you can use the APPLICATION_ENV setting in
your VirtualHost to let PHP output all its errors to the browser. This can be
useful during the development of your application.
Edit laminas-mvc-tutorial/public/index.php directory and change it to the following:
use Laminas\Mvc\Application;

/**
 * Display all errors when APPLICATION_ENV is development.
 */
if ($_SERVER['APPLICATION_ENV'] === 'development') {
    error_reporting(E_ALL);
    ini_set("display_errors", '1');
}

/**
 * This makes our life easier when dealing with paths. Everything is relative
 * to the application root now.
 */
chdir(dirname(__DIR__));

// Decline static file requests back to the PHP built-in webserver
if (php_sapi_name() === 'cli-server') {
    $path = realpath(__DIR__ . parse_url($_SERVER['REQUEST_URI'], PHP_URL_PATH));
    if (__FILE__ !== $path && is_file($path)) {
        return false;
    }
    unset($path);
}

// Composer autoloading
include __DIR__ . '/../vendor/autoload.php';

if (! class_exists(Application::class)) {
    throw new RuntimeException(
        "Unable to load application.\n"
        . "- Type `composer install` if you are developing locally.\n"
        . "- Type `docker-compose run laminas composer install` if you are using Docker.\n"
    );
}

$container = require __DIR__ . '/../config/container.php';
// Run the application!
/** @var Application $app */
$app = $container->get('Application');
$app->run();
You now have a working skeleton application, and we can start adding the specifics for our application.
Development Mode
Before we begin, we're going to enable development mode for the application. The skeleton application provides two files that allow us to specify general development settings we want to use everywhere; these may include enabling modules for debugging, or enabling error display in our view scripts. These files are located at:
config/development.config.php.distconfig/autoload/development.local.php.dist
When we enable development mode, these files are copied to:
config/development.config.phpconfig/autoload/development.local.php
This allows them to be merged into our application. When we disable development
mode, these two files that were created are then removed, leaving only the
.dist versions. (The repository also contains rules to ignore the copies.)
Let's enable development mode now:
$ composer development-enableNever Enable Development Mode in Production
You should never enable development mode in production, as the typical reason to enable it is to enable debugging! As noted, the artifacts generated by enabling development mode cannot be committed to your repository, so assuming you don't run the command in production, you should be safe.
You can test the status of development mode using:
$ composer development-statusAnd you can disable it using:
$ composer development-disable